Joint Sand Replacement
Joint sand plays a critical role in maintaining the stability, structural integrity, and overall aesthetic appeal of paver installations. Over time, joint sand can erode due to weather conditions, foot traffic, and other factors, leading to potential issues such as weed growth, uneven pavers, and reduced stability. Replacing or replenishing joint sand is a key component of paver maintenance. Here’s an in-depth exploration of joint sand replacement for pavers:
Importance of Joint Sand:
- Stabilizing Pavers:
- Joint sand acts as a stabilizing agent, preventing individual pavers from shifting or settling.
- It contributes to the overall strength and durability of the paved surface.
- Preventing Weed Growth:
- Adequate joint sand fills the gaps between pavers, discouraging weed and vegetation growth.
- It creates an inhospitable environment for weed seeds to germinate.
- Enhancing Drainage:
- Properly filled joints facilitate water drainage, preventing water from pooling on the paver surface.
- This is crucial for preventing water-related issues such as erosion or soil washout.
- Reducing Paver Contact:
- Joint sand acts as a buffer between pavers, minimizing direct contact and reducing the risk of chipping or damage.
- It distributes loads evenly, promoting a more uniform weight distribution.
- Preventing Ant Nests:
- Well-maintained joint sand eliminates voids where ants and other insects may establish nests.
- Regular replacement helps deter unwanted pests from inhabiting the paver joints.
Signs of Joint Sand Erosion:
- Weed Growth:
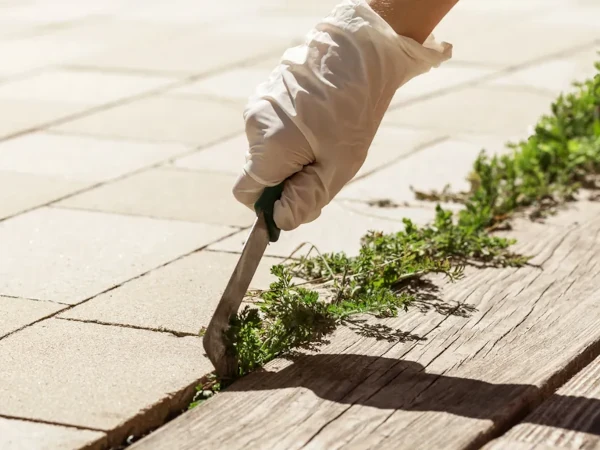
- Visible weeds or vegetation sprouting between pavers indicate insufficient joint sand.
- Weed growth is often a sign that the joint sand has eroded or compacted.
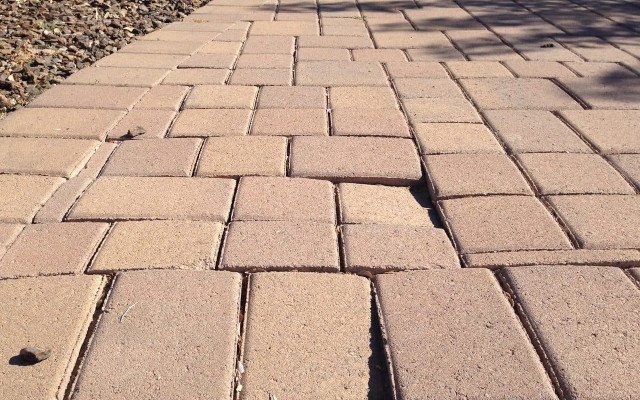
- Uneven Pavers:
- Pavers that have shifted, settled, or become uneven may be indicative of inadequate joint sand.
- Replacing the sand helps restore a level and stable surface.
- Pooling Water:
- Water pooling on the paver surface may suggest issues with joint sand erosion.
- Properly filled joints aid in efficient water drainage.
- Loss of Stability:
- Reduced stability, especially in high-traffic areas, can be a result of insufficient joint sand.
- The replenishment of sand restores stability and prevents further wear.
Steps for Joint Sand Replacement:
- Cleaning the Joints:
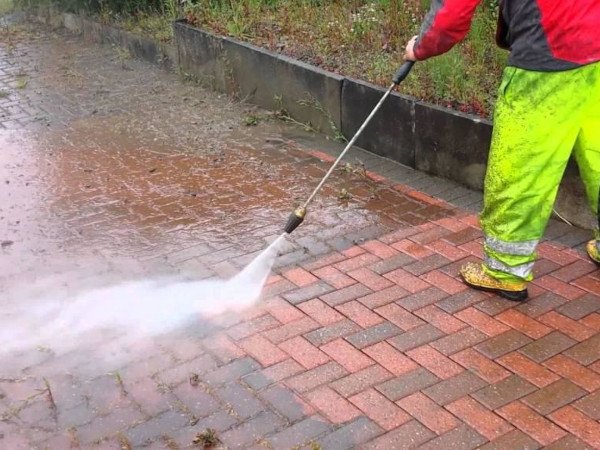
- Remove any debris, weeds, or old joint sand from the paver joints.
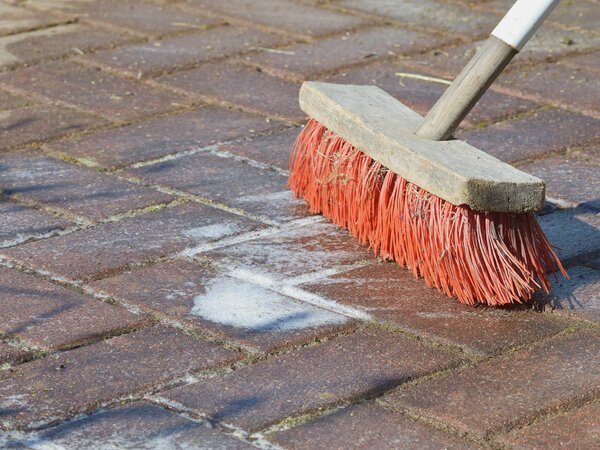
- Use a broom, blower, or specialized joint sand removal tool for thorough cleaning.
- Adding New Joint Sand:
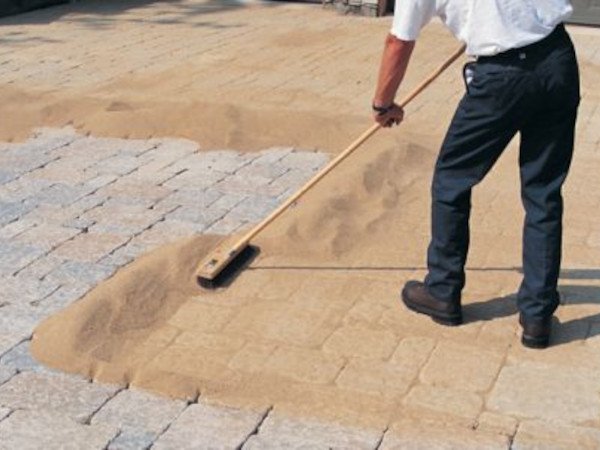
- Pour fresh joint sand onto the paver surface.
- Use a broom or brush to sweep the sand into the joints, ensuring even distribution.
- Compacting the Sand:
- Compact the joint sand using a vibrating plate compactor.
- This step helps settle the sand and ensures a stable and secure fill.
- Repeating the Process:
- Continue adding and compacting joint sand until the gaps are completely filled.
- Repeat the process until the joints are adequately filled and level with the paver surface.
- Sweeping Excess Sand:
- After compaction, sweep away any excess sand on the paver surface.
- This step contributes to a neat and finished appearance.
- Water Activation (for Polymeric Sand):
- If using polymeric sand, follow the manufacturer’s instructions for water activation.
- This typically involves spraying water over the paver surface to activate the binding properties of the sand.
- Final Inspection:
- Inspect the joints for any gaps or unevenness.
- Make any necessary adjustments and ensure that the joints are uniformly filled.
Tips for Joint Sand Replacement:
- Use High-Quality Sand:
- Choose joint sand specifically designed for paver applications.
- High-quality sand ensures optimal stability and performance.
- Choose the Right Sand Type:
- Select either regular joint sand or polymeric sand based on your specific needs.
- Polymeric sand provides additional stabilization and weed resistance.
- Consider Sealing (for Polymeric Sand):
- Sealing the pavers after joint sand replacement, especially with polymeric sand, enhances its effectiveness and longevity.
- Follow manufacturer guidelines for sealant application.
- Regular Maintenance Schedule:
- Implement a regular maintenance schedule that includes periodic joint sand inspection and replacement.
- Regular attention helps prevent issues before they escalate.
Joint sand replacement is a proactive measure that contributes to the long-term health and resilience of your paver installation. By maintaining well-filled joints, you ensure a stable, weed-free, and visually appealing surface that enhances the beauty of your outdoor spaces.


