
Laying Pavers
Laying pavers is a crucial step in the construction of a paved surface, whether it’s a patio, driveway, walkway, or any other outdoor area. The way pavers are installed can significantly impact the stability, appearance, and longevity of the paved surface. Here’s an expanded overview of the process of laying pavers:
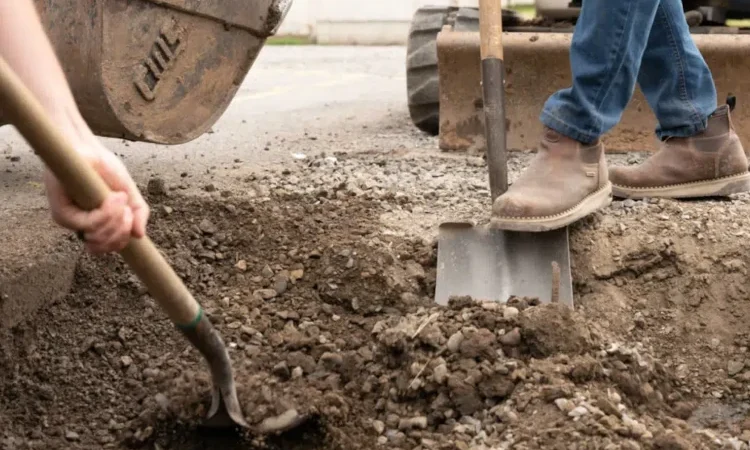
1. Preparation Before Laying:
- Inspect Pavers: Before starting, inspect the pavers for any defects or damage. Remove and replace any pavers that are chipped, broken, or irregular.
- Plan the Layout: Plan the layout of the pavers, considering the pattern, orientation, and any special features like borders or insets.
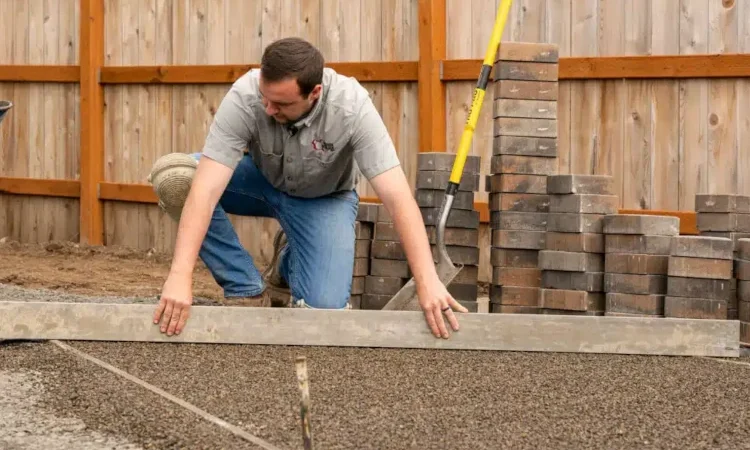
2. Setting a Starting Point:
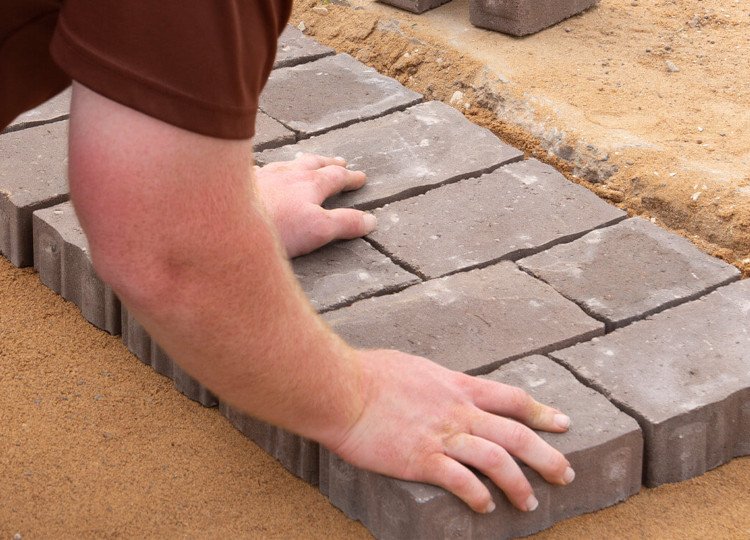
- Choose a Reference Line: Choose a straight reference line to serve as a starting point. This could be a straight edge, a string line, or a building edge.
- Mark the Starting Point: Mark the starting point and lay the first row of pavers along this line. This initial row sets the foundation for the entire installation.
3. Use of Spacers:
- Insert Spacers: Place plastic or rubber spacers between the pavers to maintain uniform gaps (joints) between them. These spacers facilitate proper drainage and prevent pavers from shifting.
4. Cutting Pavers:
- Cutting for Edges: Use a saw or paver splitter to cut pavers along the edges or around obstacles. Precise cuts ensure a neat and professional-looking installation.
- Wearing Protective Gear: When cutting pavers, wear safety glasses and ear protection to ensure safety.
5. Interlocking Patterns:
- Follow the Chosen Pattern: If using interlocking patterns, follow the predetermined design to ensure proper interlock and structural stability.
- Check Alignment Periodically: Periodically check the alignment and straightness of the rows, making adjustments as needed.
6. Adjustments for Slopes:
- Accommodate Slopes: If the paved surface requires a slope for proper water drainage, ensure that the pavers are laid to accommodate the desired slope.
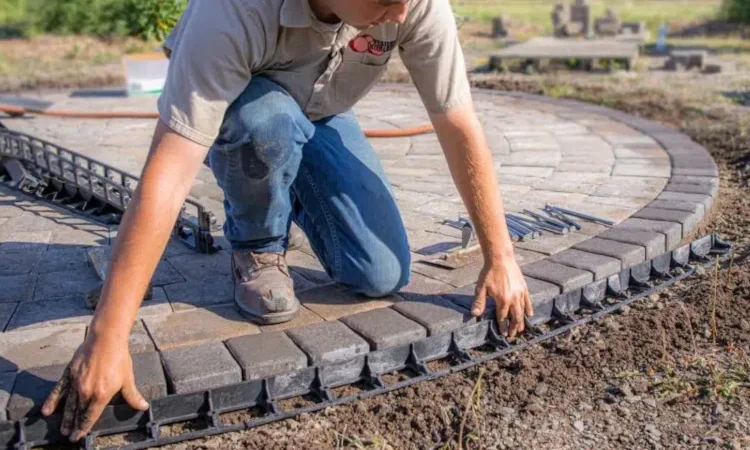
7. Use of Edge Restraints:
- Work with Edge Restraints: Work with edge restraints or borders to contain the pavers and prevent them from shifting over time.
- Secure Edges First: Secure the edges or borders first, then fill in the field.
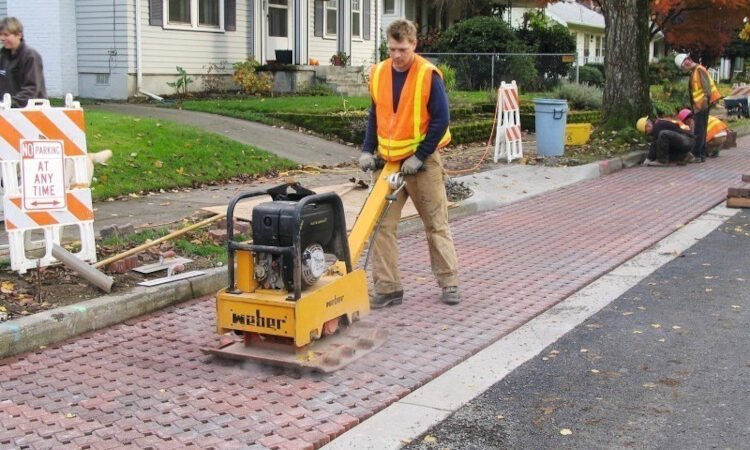
8. Leveling and Tamping:
- Adjust for Levelness: As you lay each paver, check for levelness using a straight edge or level. Adjust the bedding sand as needed to ensure a level surface.
- Tamp the Pavers: After placing each paver, use a rubber mallet or a plate compactor to tap or tamp down the pavers. This helps settle them into the sand and ensures a firm, even surface.
9. Checking Alignment:
- Periodic Alignment Checks: Periodically check the alignment of the pavers to maintain straight lines and uniform joints. Adjust the position of the pavers as necessary.
10. Sweeping in Joint Sand:
- Fill Joints with Sand: Once all the pavers are in place, sweep dry, fine joint sand into the gaps between the pavers. This helps lock them in place and prevents weed growth.