
Repairing Damaged Pavers
Repairing damaged pavers is a crucial aspect of paver maintenance to ensure the longevity, safety, and aesthetic appeal of your paved surfaces. Damage to pavers can occur due to a variety of reasons, including settling, shifting, heavy loads, or harsh weather conditions. Prompt and effective repair not only addresses the immediate issue but also prevents further damage. Here’s an in-depth exploration of repairing damaged pavers:
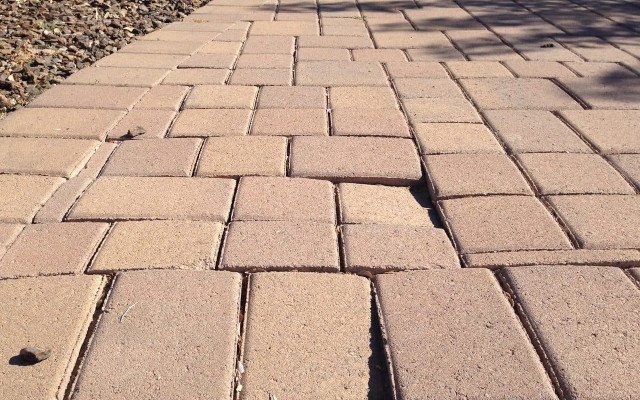
Types of Paver Damage:
- Cracks:
- Cracks can occur due to settling, freeze-thaw cycles, or heavy impact.
- They compromise the integrity of the paver and can lead to further damage.
- Chips or Breaks:
- Chips or breaks may result from heavy loads, dropped objects, or sharp impacts.
- Damaged edges can detract from the overall appearance of the paved surface.
- Uneven Surface:
- Settling of the base material or shifting of pavers can create an uneven surface.
- This not only affects aesthetics but also poses safety concerns.
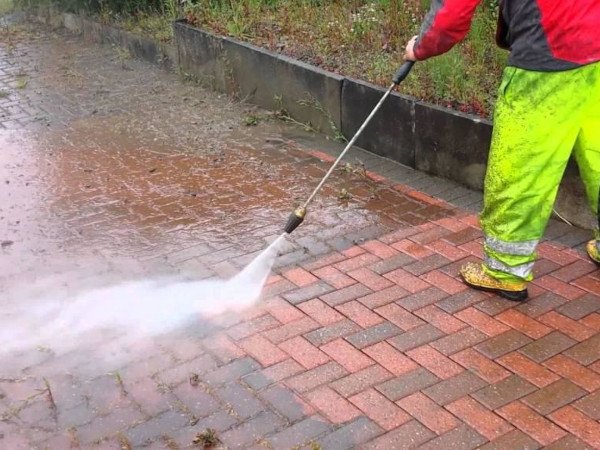
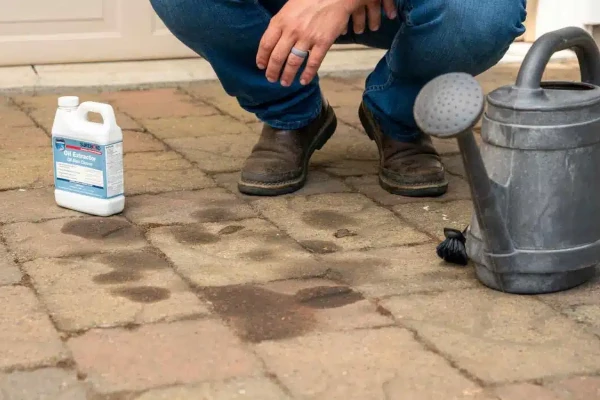
- Stains or Discoloration:
- Stains from oil, rust, or other substances can mar the appearance of the pavers.
- Discoloration may occur due to weathering or exposure to certain elements.
- Loose or Displaced Pavers:
- Pavers may become loose or displaced over time, especially in high-traffic areas.
- This poses a tripping hazard and compromises the stability of the surface.
Steps for Repairing Damaged Pavers:
- Assessment:
- Begin by assessing the extent and nature of the damage.
- Identify the cause to prevent future occurrences.
- Remove Surrounding Pavers:
- If dealing with a single damaged paver, carefully remove the surrounding pavers to access the affected area.
- Use caution to avoid further damage to adjacent pavers.
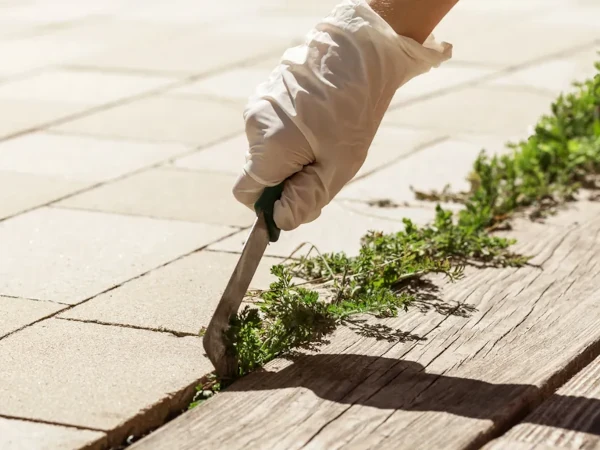
- Extract Damaged Paver:
- Gently lift or pry out the damaged paver using a flathead screwdriver, pry bar, or similar tool.
- Avoid excessive force to prevent additional breakage.
- Inspect Base Material:
- Examine the base material beneath the removed paver.
- If settling or erosion is evident, address the base before replacing the paver.
- Prepare the Base:
- Add or compact base material as needed to ensure a stable foundation.
- The base should be level and provide adequate support for the replacement paver.
- Replace with New Paver:
- Insert a new or replacement paver into the prepared space.
- Ensure a snug fit and level alignment with surrounding pavers.
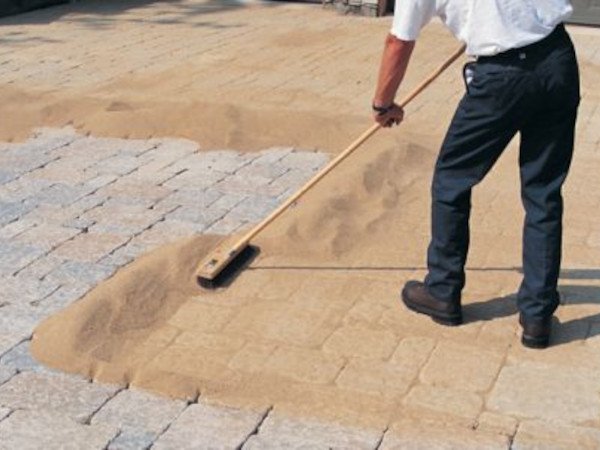
- Fill Joints:
- Fill the joints around the replaced paver with fresh joint sand or polymeric sand.
- This helps stabilize the paver and prevents weed growth.
- Compact the Area:
- Use a vibrating plate compactor to compact the entire repaired area.
- This ensures that the pavers are securely set in place.
- Seal (Optional):
- Consider applying a sealer to the entire paver surface, including the repaired area.
- Sealing enhances protection and uniform appearance.
Tips for Repairing Damaged Pavers:
- Use Matching Pavers:
- Whenever possible, use replacement pavers that match the size, color, and texture of the existing ones.
- This maintains a cohesive and seamless appearance.
- Address Underlying Issues:
- Identify and address the underlying causes of the damage, such as poor base preparation or drainage issues.
- Correcting these issues prevents future damage.
- Stain Removal Before Repair:
- If the damage is associated with stains, perform stain removal before replacing the paver.
- Ensure the area is clean and free of contaminants.
- Proper Joint Filling:
- Use quality joint sand or polymeric sand when filling the joints around the replaced paver.
- Proper joint filling contributes to stability and weed prevention.
- Consider Professional Assistance:
- For extensive or complex damage, consider seeking professional assistance.
- Professionals can provide expertise and ensure proper repair techniques.
- Regular Inspection:
- Conduct regular inspections of your pavers to identify and address damage promptly.
- Early intervention prevents minor issues from escalating.
- Educate Users:
- If the damage is related to heavy loads or misuse, educate users about proper paver care.
- Avoid placing heavy furniture or equipment directly on the pavers.
Conclusion:
Repairing damaged pavers is a proactive measure to maintain the structural integrity and visual appeal of your paved surfaces. By addressing damage promptly and employing proper repair techniques, you can ensure that your pavers remain a durable and attractive feature in your outdoor spaces. Regular inspections and timely repairs contribute to the overall longevity and performance of your paver installation.